
Greenleaf Annabelle Dollhouse Project
Chapter 9
The Porch
In last week's episode Pretty Polly was tied to the railroad tracks as the oncoming train... oh wait, wrong story.
Oh yes, now I remember, I underestimated the amount of plank that would be needed for the porch boards. I got in another 12 pieces - 24 feet, that's got to be more than enough, right? We finish up the right side porch and move back to the center and cut the boards for the other side. For each board on this side, we label them L1, L2...all the way to about 65. It's lucky we bought so many strips, we used 10 more. Wow, hard to believe there's 32 feet of plank on that porch, but there is!
Now that we've finished cutting the wood, we've got to finish it somehow. Should we paint it? Stain it? Ahhh, here's an idea, gray shingle dye!
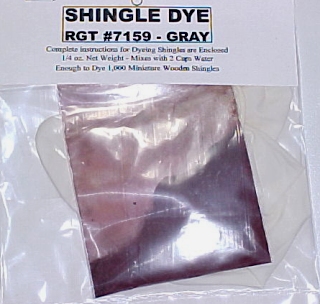
That's perfect. This stuff comes with a warning about turning things gray permanently, and it includes a rubber glove to make handling the wood a little easier. After mixing up a big bowl of this blackish ink, we dump entire 130 or so boards into the mix. We slosh it around for a couple of minutes, pour off the water, and then lay all the boards out on a big sheet of cardboard to dry. Fortunately we had a nice sunny day, and the wood dried out pretty quickly without warping very much.
Next it's time to reassemble the whole thing, but uh-oh, we can't see any of the pencil marks , they blend in with the dye too well. So we have to spend a lot of time putting this puzzle back together. After several hours of moving pieces, we finally got it figured out. But now the boards were back on the porch, the porch hasn't been prepped, and we can't glue the pieces down like that anyway.
So again we remove all the pieces, but this time we move a few at a time and keep them all in order until we're ready for them. Back at the porch, we hit it with some Gesso, and then a sloshing of dark gray paint just in case any of the floorboards end up with space in between. Once dry, we glue all the boards onto the porch, one by one,
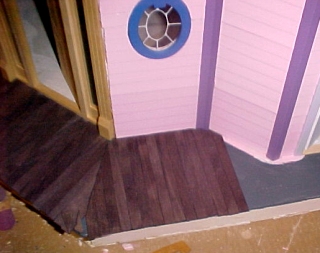
and within an hour or so,
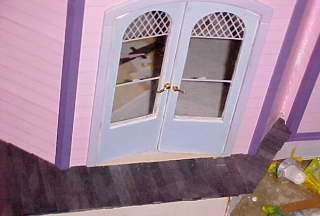
we've got a natural-looking porch floor.
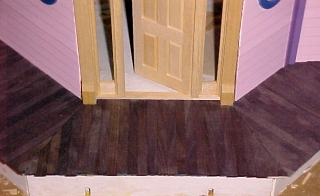
The next major section is the porch railing. The railing that comes with the Pierce is okay,

but we want something more distinctive. Looks like we'll have to make something from ourselves. After searching around, we came up with some really interesting posts,
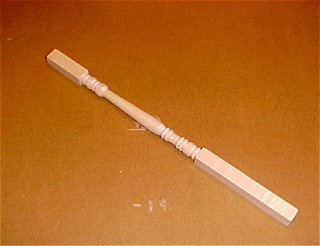
and an excellent prebuilt victorian railing.

Using the mitre box, it doesn't take very long to cut all the pieces needed to replace the original railing.
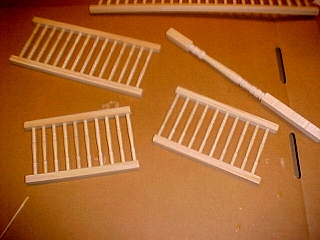
Glueing it together takes a bit of patience, you have to line up top and bottom rails with each other, you have to make sure all the posts touch the ground, and you have to make sure all the angles are right.
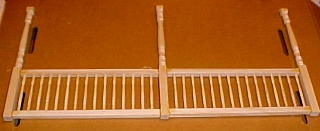
For the front of the porch, we cut smaller pieces of rail,
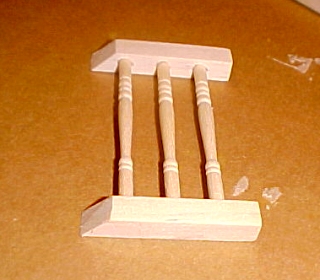
and attached them to posts that we cut in half.
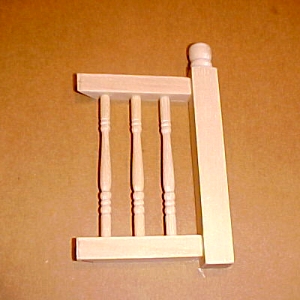
But by going slowly and only doing one section at at time, we managed to pull this off in a couple of hours.
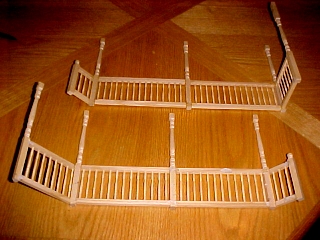
We've got some more ideas on how to make the porch a little fancier, but we've run out of time again.
Let's see what everything looks like at this point:
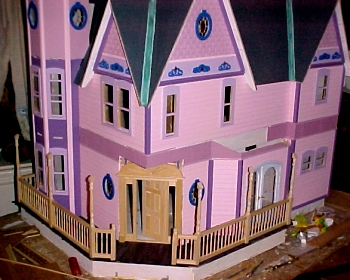 This chapter seems like it went by pretty quick, but there was a lot of detail work involved.
We've now completed nine weekends of work on the house. This represents several more hours of work spaced over several short sessions during the weekend.
What's Next
In the next chapter, we'll do some more work on the porch.
If you'd like to do this project along with us, we can special-order all the parts you need. Here's what we've bought so far:
Greenleaf Annabelle Dollhouse Kit $169.95
Cir-Kit Deluxe Wiring Kit $109.95
Real Wood Siding 24" x 3" with 1/2" board spacing $2.95 ea
Hobbyist Tool Kit $49.95
Brass Hammer $11.95
Gesso, 32oz bottle $11.95
metal file set $12.95
Assembled Curved Stairway $39.95
Sunburst Door
Clapboard Siding
Beadboard
Picture Frame Molding
Copper Foil
Quick Grip Cement
and other items which we'll update later.
You can get these supplies listed below in any hardware store:
2" width paint brush
sandpaper
masking tape
Carpenter's Wood Glue
Go to
CHAPTER 10
Return to Mainly Mini's


