
Greenleaf Annabelle Dollhouse Project
Chapter 8
More Detail
Before we get started, I've caused a little problem. I blew through the work in this chapter so quickly, I didn't stop and take enough pictures of each step. All the work is starting to pay off, I'll try to fill in with enough shots, but I was having so much fun I didn't stop often enough.
When placing the Violet trim pieces last week, we didn't put one over the front door, figuring that we'd add it later after fitting the porch roof into place. We've decided to run it all the way down to the top of the entranceway, so we'll need another piece of angle wood prepped and painted.
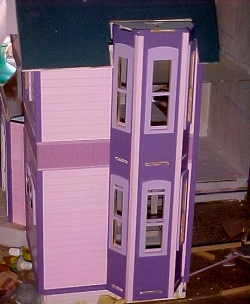
It's also time to get moving on the outside tower and bay window assembly, so let's get to that now. I got some high quality stucco mix for this, I figured it would be much too hard to apply siding to these sections, too much to cut out, and almost nothing showing when done. I mixed up a big package of the stuff, added an entire jar of paint, and started to apply it. Ack! Ick! I don't like it, so off it comes, and we dump the entire load of glop into the trash.
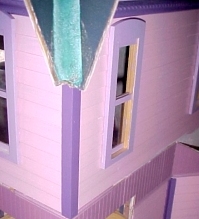
Might as well just paint these pieces instead since there isn't a lot of area. Matching the existing color scheme won't work since we're painting onto a smooth, flat surface, so lets reverse the pattern....Violet Bouquet for the main areas, and Baby Pink for the trim. We prep and paint the trim and the assemblies pretty quickly. The wood needs some sanding, but that doesn't take too long.
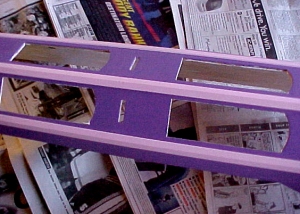
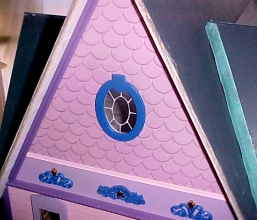
As we get near the top of the big tower, we realize that we need another change, so we quickly add a line to stop at, and then we change to...hmmmm, let's pick up the color from the fishscaled gables here. Once we're done with that, we slap the wood edge pieces on with some Quick Grip, and we've got the main parts of the assemblies done. We'll still have to deal with the slot holes, but we have some ideas for that too! Of course we still won't glue these assemblies to the house, we'll try to keep them removable so we can decorate the insides.
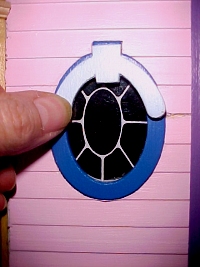
The window kit doesn't include replacements for the oval windows, so it's time to punch out the trim and the clear plastic. First, we glue the plastic panses to the house and let them dry. While that's curing, we do the usual prep job on the oval pieces. The ovals get the dark blue Stars Forever treatment, and the first overlay gets a new color - Baby Blue.
We glue the dark blue ovals into place and leave them for a while. The contrast is spectacular, we really love the strong accent they give.
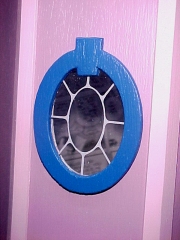
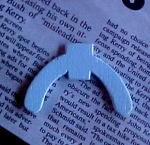
There are overlays for the oval windows, a half hood and a keystone. We painted the half hoods baby blue
Next, we apply the Baby Blue overlays and arghhhhhh, this looks bogus!!
We've already glued 3 of them on but they're not dry so we yank them off. The half dry Quick Grip is still stuck to the ovals, and any attempt to remove it takes the paint right off. Oh well, we pry the 3 ovals off the house, sand them down, and repaint them.
Fortunately, I didn't get any pictures of that little problem! After glueing the ovals back on the house, we decide that they don't need any further buildup. We may decide to add something to the crown pieces later, but sometimes you just have to stop where it looks best, no matter how fancy it's supposed to be.
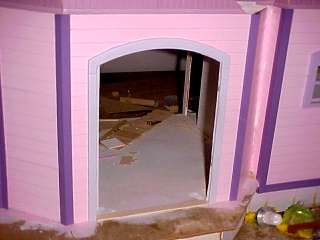
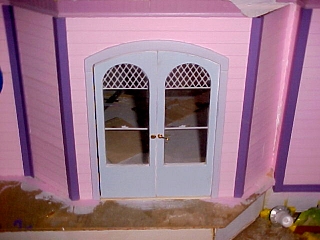
As we continue on our quest to close up the exterior, we now focus on that big hole in the side of the house - the dining room entrance. First, we prep and paint the trim pieces for the doorway, then glue them onto the outside of the house. We introduce another new color here: Lilac.
The dining room doors consist of 2 sections of wood
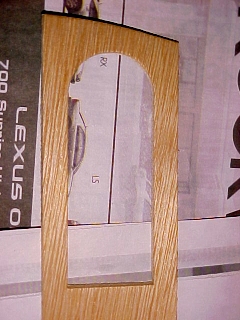
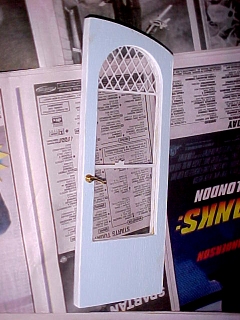
and a clear plastic window for in between. Let's put the doors together. We prep the wood, sandwich the plastic in between, and glue it together. After it's dry, we add some wood filler around the edges so that we'll have a smooth edge to the doors. We leave the filler to dry and then sand it down to a smooth edge. Now some white paint around the edges and Baby Blue for the exterior and we're nearly done.
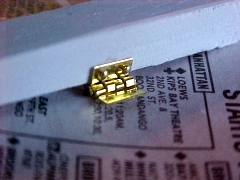
Next, we hammer in a pair of hinges into each door
and then hammer the hinges into the dining room wall.
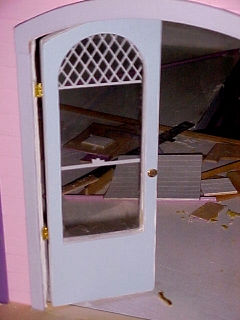
Oops, we got a little carried away and hit one of the handles and broke it off, we'll have to replace that later on. Oh well!
We still have a little work to do in the doorway, so we won't attach the second door, but we fit it into the opening to see how it looks.
Wow, the outside of the house is nearly done! All we have left is the foundation, the porch, and the roof. Might as well get started on the porch since there's still a few hours left in the weekend. We found some real nice wood strips that we can use as planks, we're going to lay the porch flooring board by board. We'll start at the center of the front door and work our way around one side of the house at a time.
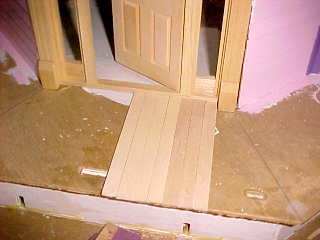
I've got 6 2-foot boards, 12 feet, that should be plenty.
We need to run the boards in a different direction as we turn the corner,
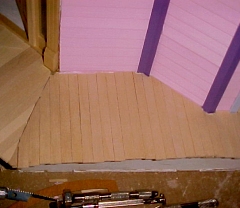
and this requires a little fancy cutting and doesn't come out perfect, but we'll live with it.
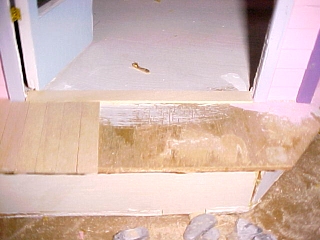
We need a threshold to cross the dining room entrance, but we don't have anything. Might as well just use a piece of this board and run it across the doorway. We'll probably want to stain this piece later unless we come up with a real threshold to replace this one.
Cutting boards for in front of the dining room is easy, they're all the same size with no fancy edges, so we're moving pretty quickly now. But uh-oh, we seem to be out of boards, is it possible we went through 6 feet already?!?!
I guess so, unless we lost one of the strips. Turns out that's about all we can get done this weekend anyway, so there you have it, and our house now looks like this after 8 weekends:
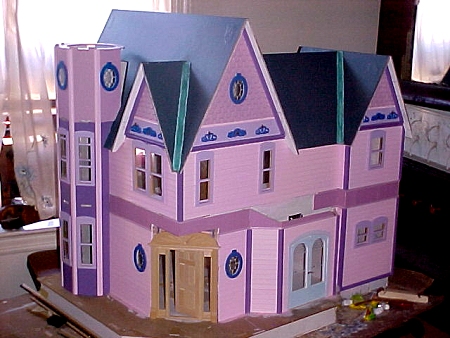
We've now completed eight weekends of work on the house. This represents several more hours of work spaced over several short sessions during the weekend.
What's Next
In the next chapter, we'll work on the porch.
If you'd like to do this project along with us, we can special-order all the parts you need. Here's what we've bought so far:
Greenleaf Annabelle Dollhouse Kit $169.95
Cir-Kit Deluxe Wiring Kit $109.95
Real Wood Siding 24" x 3" with 1/2" board spacing $2.95 ea
Hobbyist Tool Kit $49.95
Brass Hammer $11.95
Gesso, 32oz bottle $11.95
metal file set $12.95
Assembled Curved Stairway $39.95
Sunburst Door
Clapboard Siding
Beadboard
Picture Frame Molding
Copper Foil
Quick Grip Cement
and other items which we'll update later.
You can get these supplies listed below in any hardware store:
2" width paint brush
sandpaper
masking tape
Carpenter's Wood Glue
Go to
CHAPTER 9
Return to Mainly Mini's