Chapter 5
We've got to darken the roof so that there isn't any of that bright white sealer showing through later on. We're going to paint the roof dark gray.
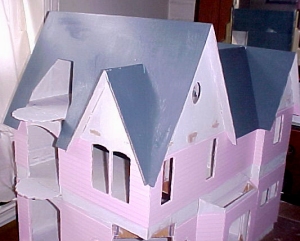
No matter how hard we try, we can't get this done in 1 coat, so after it dries we give the whole thing another brushing to even it all out. Perfect!
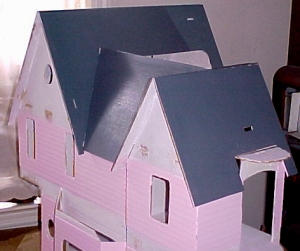
Now we have to make sure that roof is waterproof, we don't want the rain to get in. Only kidding, we're not sure the house could withstand more than a sprinkle, so don't put your dollhose out in a storm to test it. Anyway, in a real house, they use something called "flashing" at leak-prone sections of the roof - specifically where different pieces join together and at roof penetrations, so that's exactly what we're going to do now.
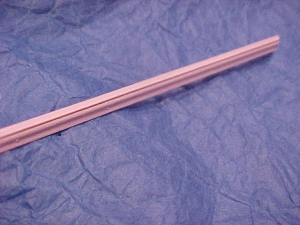
We picked up a sheet of copper foil and cut it into strips to line the various roof meeting points.

This isn't so easy, the copper isn't as flexible as you'd think, and when cutting it, it's very easy to leave a series of sharp spikes along the edge of the copper that can give quite a nasty slice.
After cutting the foil, it has to be bent so that it fits corner.
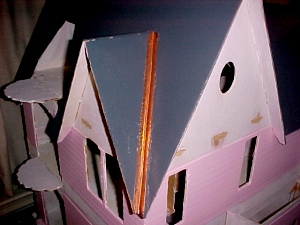
Finally it must be glued in place - again not so easy because the copper doesn't absorb anything, so even the thinnest layer of Quick Grip ends up gooping out all over the place.
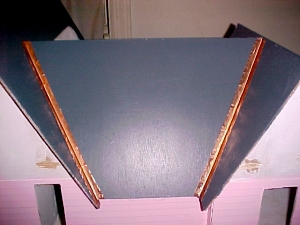
The next problem, of course, is that shiny copper isn't realistic at all, so we've got to rust it out to achieve that beautiful verdegris finish. We found a little misting bottle and have starting spraying the copper with water several times a day.
Since this part will probably take a long time, we probably should have prepared the chimney too, since that's going to need flashing. Oh well, we'll have to figure that out later.
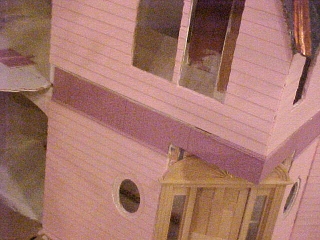
What about the gap?
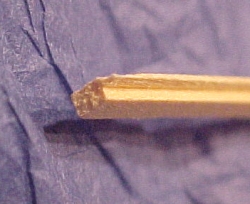
Oh yeah, time to go back to that. Here's what we've come up - we found some nice picture frame molding,
and we'll use that as an edging on both sides of the gap. The picture frame molding is perfect because we can slip a sheet of bead-and-board type wainscoting
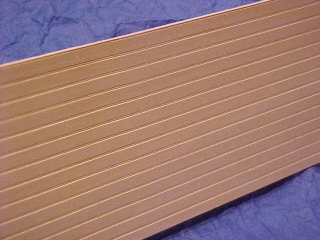
underneath it and it "frames" it perfectly.
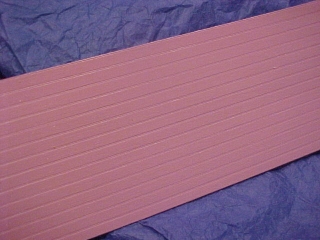
These parts have to be sealed and painted before being attached to the house to keep the angles sharp. We've decided to paint the wainscoting Wineberry color,
and the picture frame molding will be Phlox color.
There isn't a lot of contrast in these 2 colors, we want to make a subtle transition here. But the two together make a nice contrast with the Baby Pink.
The detail work here is very difficult, sections of molding have to be measured and mitre-cut, and then the edges have to be fitted together by sanding. This section of the house also has a lot of interruptions, it's far from being a straight run. But we manage to work our way around the house gluing vertical sections of beadboard edged with the picture frame molding. Just like with the siding, you can't use wood glue here or it will warp the thin wood, Quick Grip is the way to go again, but be careful because it can get messy when doing delicate work.
We slowly work our way around the house,
cutting strips of beadboard and molding as we go, and doing one section of the house at a time.
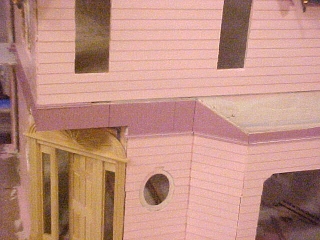
We finally make it all the way around, I think that's enough for this weekend!

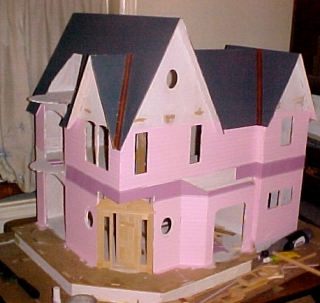
The house is starting to look pretty good now, there isn't much more of the bare shell visible.
What's Next
We've now completed five weekends of work on the house. This represents several more hours of work spaced over several short sessions during the weekend.
If you'd like to do this project along with us, we can special-order all the parts you need. Here's what we've bought so far:
Greenleaf Annabelle Dollhouse Kit $169.95
Cir-Kit Deluxe Wiring Kit $109.95
Real Wood Siding 24" x 3" with 1/2" board spacing $2.95 ea
Hobbyist Tool Kit $49.95
Brass Hammer $11.95
Gesso, 32oz bottle $11.95
metal file set $12.95
Assembled Curved Stairway $39.95
Sunburst Door
Clapboard Siding
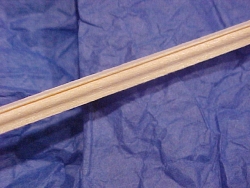
Beadboard
Picture Frame Molding
Copper Foil
Quick Grip Cement
You can get these supplies listed below in any hardware store:
2" width paint brush
sandpaper
masking tape
Carpenter's Wood Glue
