
Greenleaf Annabelle Dollhouse Project
Weekend 2
Everyone has been waiting anxiously to find out what we're doing about the on/off light switches, and we've decided NOT to use them. We have 2 reasons - first, it makes the wiring more complicated, and second, switches make more sense if you've already planned exactly what you're lighting will be. We still have no idea what we're going to do, so no switches for now.
In a little while we'll continue with the wiring, but first.....
The Stairs
Yup, we know what you're thinking "HEY, you forgot the stairs!"
Yes and no. No, we didn't forget them, but Yes, they should have been put in already. But that's one of the things we're going to change. You can build a perfectly serviceable staircase using the pieces in the kit, but we want to change to something else.
This is what the Annabelle staircase looks like when you begin to assemble it:
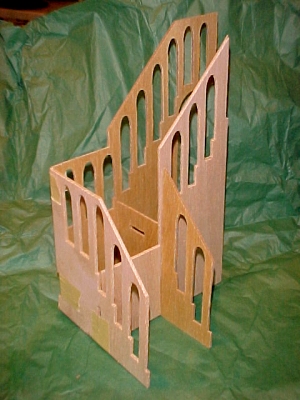
We've seen some people do really great things with that stairway, but we don't think it's going to match our decor, so it's going right back into the box.
After a bit of searching around, we came up with this staircase:
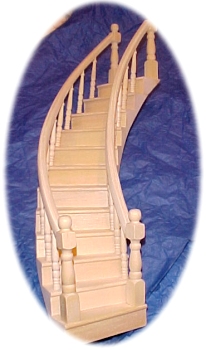
This stairway doesn't fit without making some changes, but what the heck, we might as well try and see how it turns out. Some of the problems are that the opening in the second floor isn't big enough and wasn't cut to accomodate a wide curving staircase. The next problem is that the height of the staircase is slightly different from the floor height in the Annabelle, so we'll have to figure something out for that too. Why worry about details though!
After cutting hacking away at the second floor opening, we managed to come up with something that works. Oops, we cut away a bit too much, so we'll have to put some back - but nobody is going to see the repair once we're finished.
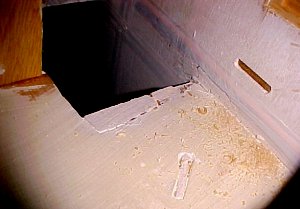
Now that we've got that worked out, we'll put the staircase aside until later.
It's time to finish up the shell and the wiring. As we build up to the top of the house, we do partial wiring runs without cutting the strip from the roll until we've got the whole house together. This reduces the need for splices, which are potential failure points later on. On the other hand, we've made use of many folding turns in the tape, and those are going to haunt us later on as we try to smooth out the floors, walls and ceiling, and encounter the tape bulges. We won't worry too much now though.
Once you've got the bulk of the interior wiring done, you can glue on the 2 back/side walls (living room and kitchen). It makes it a lot easier to work if you don't attach those walls until you're just about finished. Finally, set all the roof panels in place and glue one section at a time.
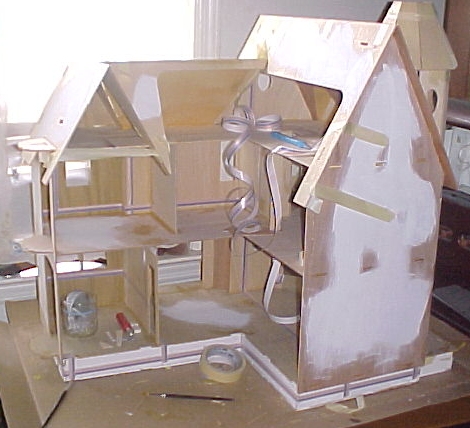
The only main house sections that have not been attached are the tower and bay windows. We glued them to themselves so they form separate units. We'll fit them in place now and then as we continue, but gluing them in place now them now would cause needless complication. More on that later.
Back to the Wiring - Instead of trying to tell you about how we wired, here are a bunch of pix. Taking pictures of the wiring at this point gives us a permanent record of exactly where it is.

Left Rear Base

Center Rear Base
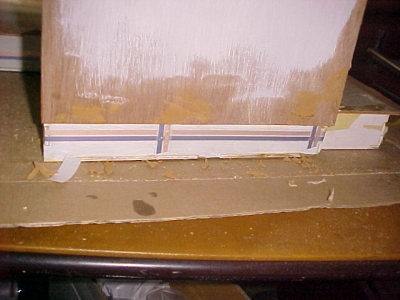
Right Rear Base

Kitchen
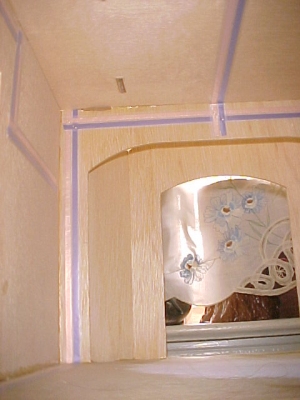
Dining Room
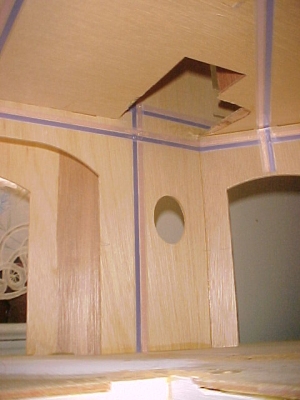
Front Hall

Living Room
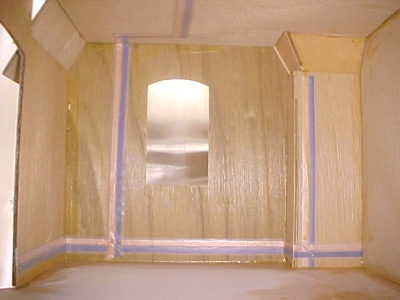
Second Floor Rm 1
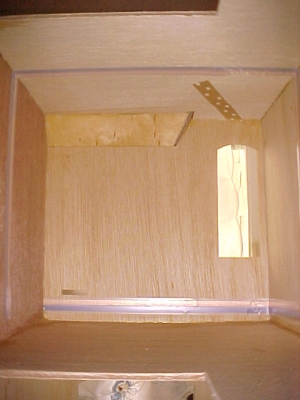
Second Floor Rm 2
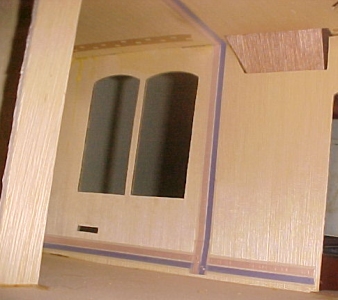
Second Floor Rm 3
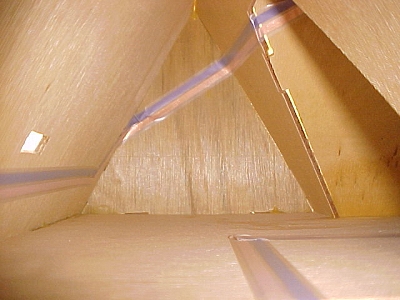
Attic 1
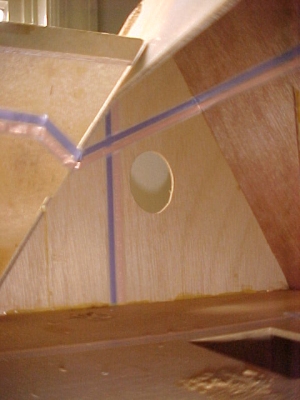
Attic 2
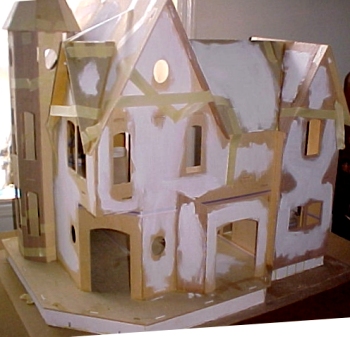
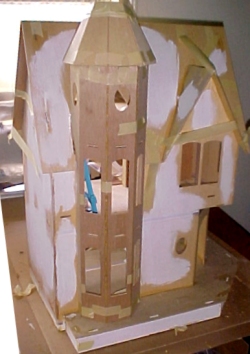
Once the glue began to dry, we started coating some of the larger panels with Gesso to get a head start on sealing the shell.
After we finished the major gluing and wiring, we put the house aside to dry for a couple of days.
 What's Next
We've now completed two weekends of work on the house. This represents several more hours of work spaced over several short sessions during the weekend.
If you'd like to do this project along with us, we can special-order all the parts you need. Here's what we've bought so far:
Greenleaf Annabelle Dollhouse Kit $179.95
Cir-Kit Deluxe Wiring Kit $109.95
Hobbyist Tool Kit $49.95
Brass Hammer $11.95
Gesso, 32oz bottle $11.95
metal file set $12.95
Assembled Curved Stairway $39.95
You can get these supplies listed below in any hardware store:
2" width paint brush
sandpaper
masking tape
Carpenter's Wood Glue
Go to
CHAPTER 3
Return to Mainly Mini's


