
Greenleaf Annabelle Dollhouse Project
Chapter 10
Porch Detail, Part 1
So I said to myself, "Ha! This next part should be simple.", as I easily Gesso'd the new porch assembly.

But nooooo, this is a LOT harder than I thought. I had the bright idea to get really fancy with the railing and planned it all out in advance. I'll paint the rails this color, and I'll decorate all the little balls and rings on the balusters and posts exactly like this, and......argghhhhhh. This work goes VERY slow. I'm not good at painting tiny sections with a lot of accuracy. Add to that the fact this is a 3D object, not a flat surface, and this quickly becomes an entire project in itself.
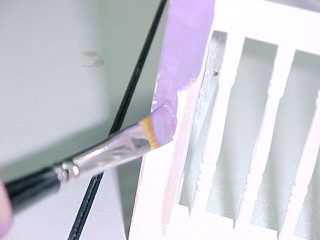
As you can see, I'm painting the main post sections Violet Bouquet.
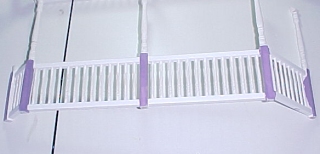
I painted the top and bottom railing white, painting the middle section of the posts and balusters baby pink, and the first ball above the center pieces in Blue Stars.
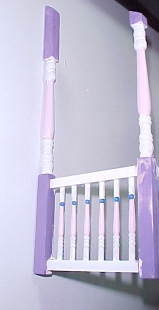
I didn't go all the way around, I mainly painted only the front to get an idea of the look before putting on the other coats. But I used up a good part of the weekend doing this, so I decided to move on to something else.
The Porch Base and House Foundation
I've been waiting to be able to work on this, but knew that it should wait until the end. Now's my chance to work on this, any excuse to get away from the detailed rail painting for a while. After doing the usual routine of applying a coat of Gesso, I paint the section of base under the porch black,
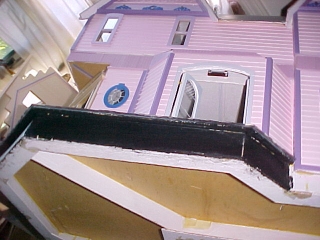
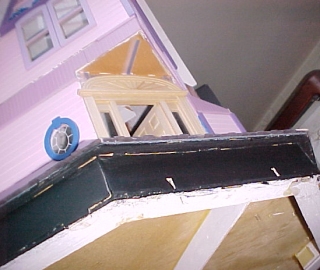
and then dark gray around the rest of the house....except for the back, I'm leaving that alone for now.
I've decided that the house should have a stone foundation, and the porch will have stone supports with wood accents for the space under the porch. Here's some nice wood for the porch base,
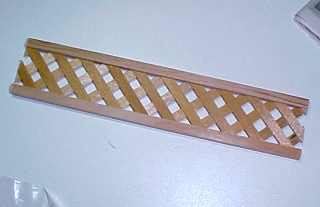
we'll cut pieces to fit the areas we want
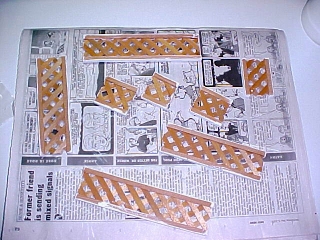
, prep it, and then paint it. The edging will be white, the latticework will be baby blue to match the dining room doors.
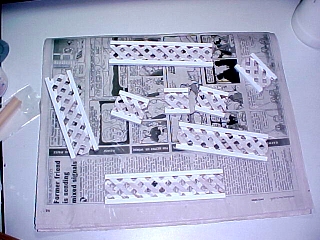
Once those pieces are painted, we glue them to the porch base using white carpenter's glue. Even though they're being glued to a vertical surface, you only have to hold them in place for a few seconds, the glue begins to hold right away. You only need a tiny bead of glue along the edges, if it glops out from under the wood when you press it onto the base, you used too much!
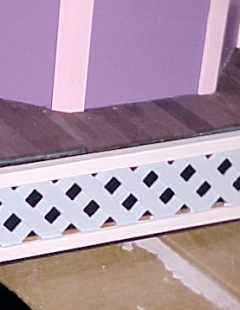
We found some nice gray fieldstone veneer and picked up a jar of mortar. It was perfect for covering the base of the house and making little pillars for the porch. The whole thing didn't take that long,
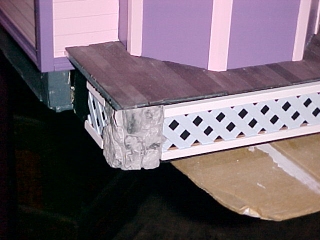
it was tons of fun,
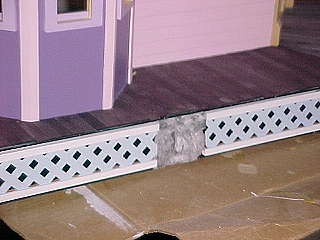
and before long the house started to take on a "real" look. Suddenly it's not some hunks of plywood anymore, it's a real house.
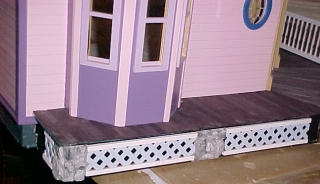
I can almost envision the lawn (which reminds me, I definitenly need to add a garden hose to the side of the house later.
As I reach the back edge where the electric connection is made, I cover that up a bit but leave the rest for later.
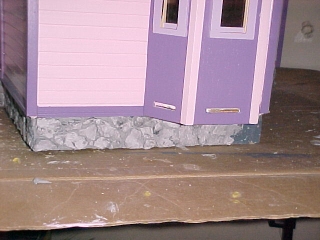
I have some more ideas for that, but will have to think about how to do it.
A few more views around the base:
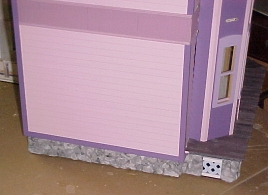
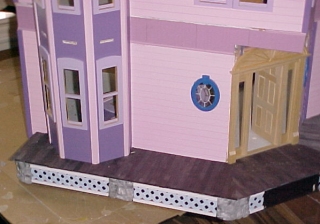
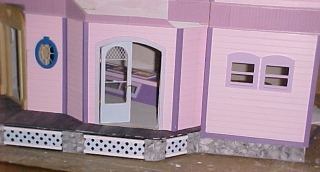
That completes our tenth weekend on the house. Here's what our Annabelle looks like now:
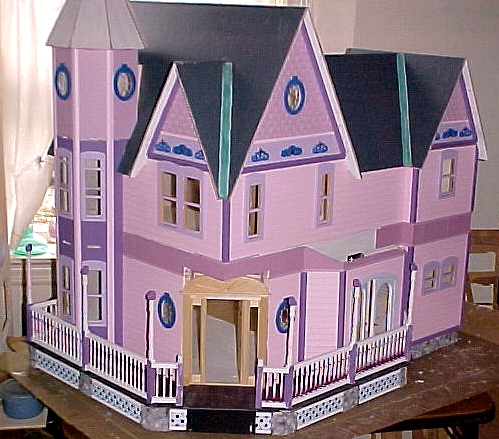
We've now completed 10 weekends of work on the house. This represents several more hours of work spaced over several short sessions during the weekend.
What's Next
In the next chapter, we'll try to finish up the porch.
If you'd like to do this project along with us, we can special-order all the parts you need. Here's what we've bought so far:
Greenleaf Annabelle Dollhouse Kit $169.95
Cir-Kit Deluxe Wiring Kit $109.95
Real Wood Siding 24" x 3" with 1/2" board spacing $2.95 ea
Hobbyist Tool Kit $49.95
Brass Hammer $11.95
Gesso, 32oz bottle $11.95
metal file set $12.95
Assembled Curved Stairway $39.95
Sunburst Door
Clapboard Siding
Beadboard
Picture Frame Molding
Copper Foil
Quick Grip Cement
and other items which we'll update later.
You can get these supplies listed below in any hardware store:
2" width paint brush
sandpaper
masking tape
Carpenter's Wood Glue
Go to
CHAPTER 11
Return to Mainly Mini's


