
Greenleaf Annabelle Dollhouse Project
Exterior design
It's time to make a decision about how we want to design the outside of the house.
This house is already very stylized, it's far from being just a box, but we still have to decide what it's going to be. Will it be a home, a store, a castle, a palace? I think we'll make this into a Victorian Home because that's a very popular theme, and it allows us to have some fun with the exterior.
The Annabelle kit comes with the accessories you need to turn this into a Victorian Mansion, it has gingerbread, roof trim, and the overall look is late 19th Century, so it's the easiest style to work with on this house. The most ornate of the wooden US Victorian homes are known as Carpenter Gothic, highlighting the artistry of the individual designers, builders, and woodworkers. We might as well take advantage of the high peaked gables, so maybe we'll fancy them up a bit later on.
.
Siding
There's a lot of different siding available, both in terms of patterns, material, and ease of use. After looking around a bit, we decided on this siding shown below.
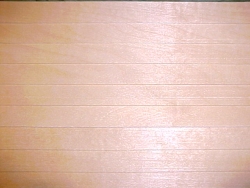
It's got a really smooth finish and there's a little ridge at the bottom of each strip so that as you stack the siding up, it interlocks with the piece below.
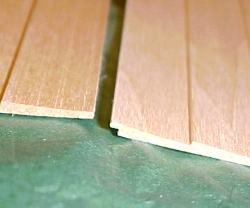
The siding is easy to cut, just measure each piece you need, put the good side down on a board, and slice through the smooth back with an exacto knife. Don't press too hard with the knife or you'll crack the siding - 5 or 6 gentle passes with the knife will cut nearly all the way through. Hold the siding against a corner of the house and snap the siding along the cut. Then fold the siding back on itself and cut the remaining strands with the exacto knife. That will give you a clean edge.
We checked around the house to find the lowest side wall, and began our siding run there. The idea is to work our way around the house, and we'll put up 3 rows of siding to start.
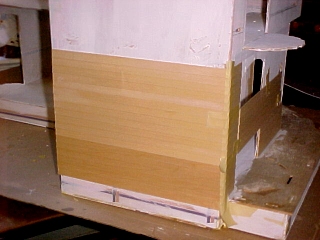
The pieces should be glued to the house with Quick Grip cement by beading it around the back of the siding. Stick the siding on the house, smush it around a bit, and then peel it off. If you do it right, you get a lot of webbing kind of gunk. Now slap the siding back in place, make absolutely certain it's exactly where you want it, and then move on.
After doing several adjoining pieces, tape the edges tightly and stop for a while. Taping the edges will prevent the siding from peeling away or warping.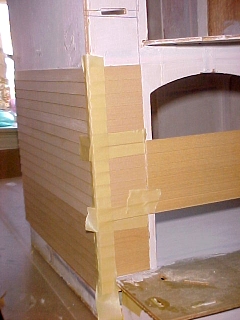
It's important to keep the boards lined up with each other and exactly horizontal so that the house doesn't look lopsided later on. Do a couple of sections at a time and then take a break.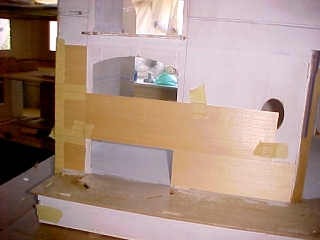
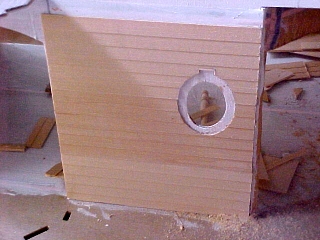
The hardest part so far was cutting out to allow for the oval windows. The trim doesn't look good on top of the siding so we decided to try to cut the siding out to accomodate the trim. Whew, not too easy to get it right!
As the weekend wears on, we finally work our way all the way around the house, 3 levels of siding high. On a plywood dollhouse, this wouldn't be such a big job, but diecut dollhouses are usually a LOT fancier than their plywood counterparts, so there are many turns, corners and angles to deal with when cutting and applying the siding.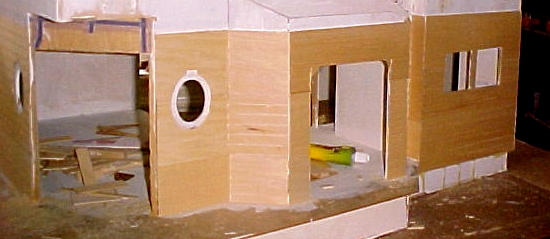
What's Next
We've now completed three weekends of work on the house. This represents several more hours of work spaced over several short sessions during the weekend.
Greenleaf Annabelle Dollhouse Kit $169.95
Cir-Kit Deluxe Wiring Kit $109.95
Real Wood Siding 24" x 3" with 1/2" board spacing $2.95 ea
Hobbyist Tool Kit $49.95
Brass Hammer $11.95
Gesso, 32oz bottle $11.95
metal file set $12.95
Assembled Curved Stairway $39.95
You can get these supplies listed below in any hardware store:
2" width paint brush
sandpaper
masking tape
Carpenter's Wood Glue